


Introduction
Jenkins is an open-source automation server that helps automate various parts of software development processes, including building, testing, and deploying applications. It is widely used for Continuous Integration and Continuous Delivery (CI/CD) pipelines. In this blog, we will discuss how to set up Jenkins on an AWS Ubuntu server and enable it to run on port 8080.
Step 1: Launching an AWS Instance
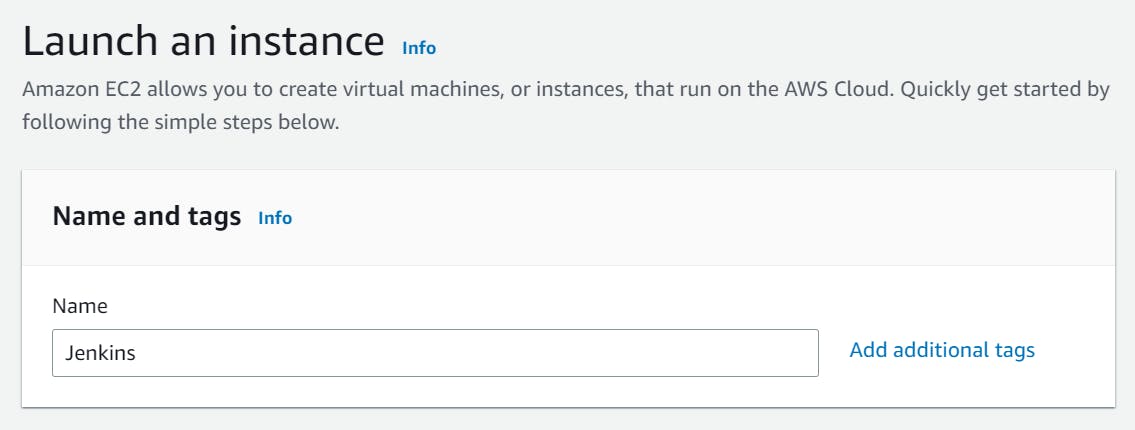
Firstly, log in to your AWS account and click on the Launch instance button to start the process of launching a new instance.
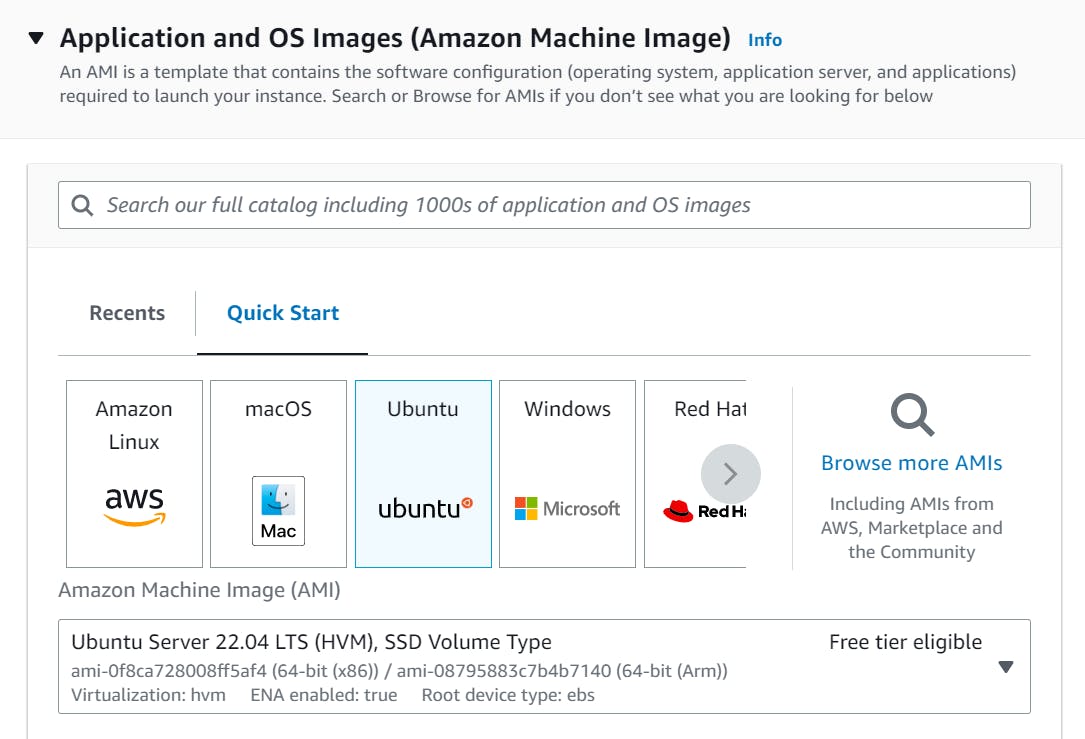
Name the instance Jenkins and choose the Amazon Machine Image (AMI) that you want to use for your instance. This will typically be the operating system you want to use (Ubuntu).
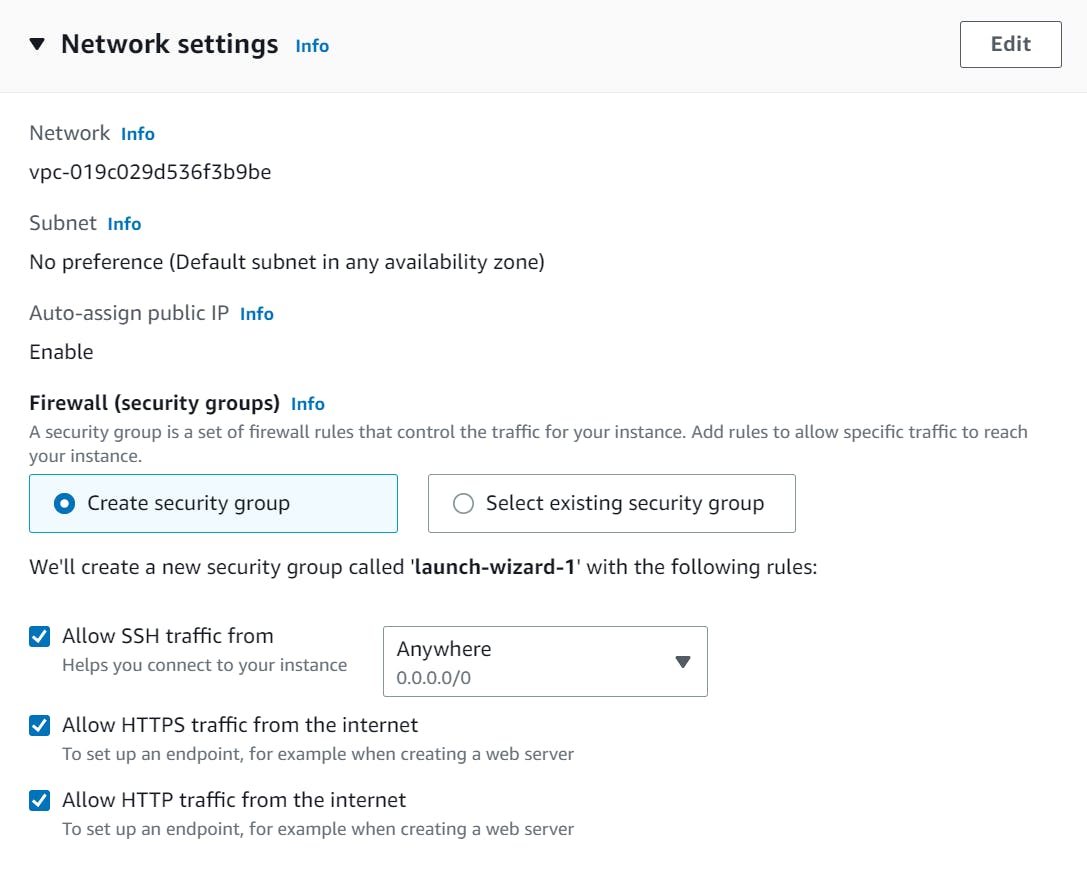
Configure additional details such as the key pair settings and security group (Network) settings, and review all settings before clicking the Launch button to create an instance.
Once your instance is launched, you can connect to it using a remote desktop or SSH client and start configuring software and applications.

Step 2: Adding Jenkins Port to AWS Instance
Select the Jenkins instance that you want to add Jenkins port to. Click on the Security tab in the details pane at the bottom of the screen. Under Security details menu click on the Security group link.
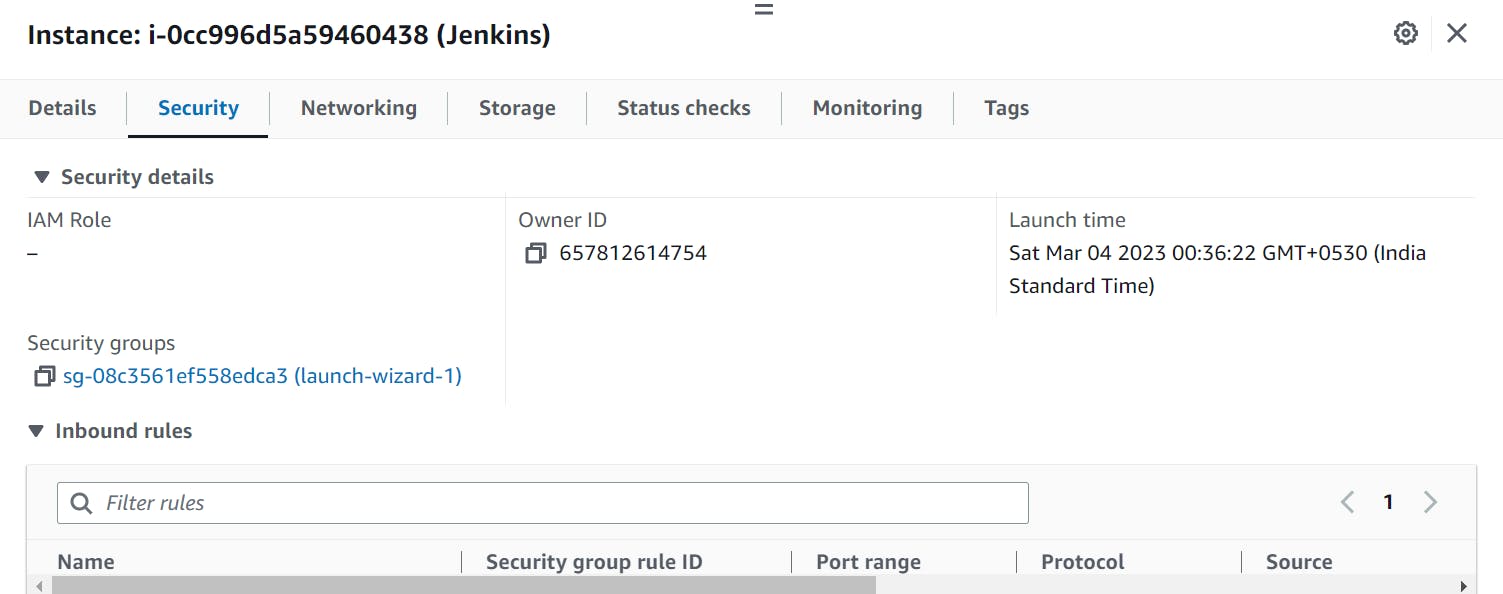
Then, under the Inbound rules tab, click on the Edit inbound rules button.

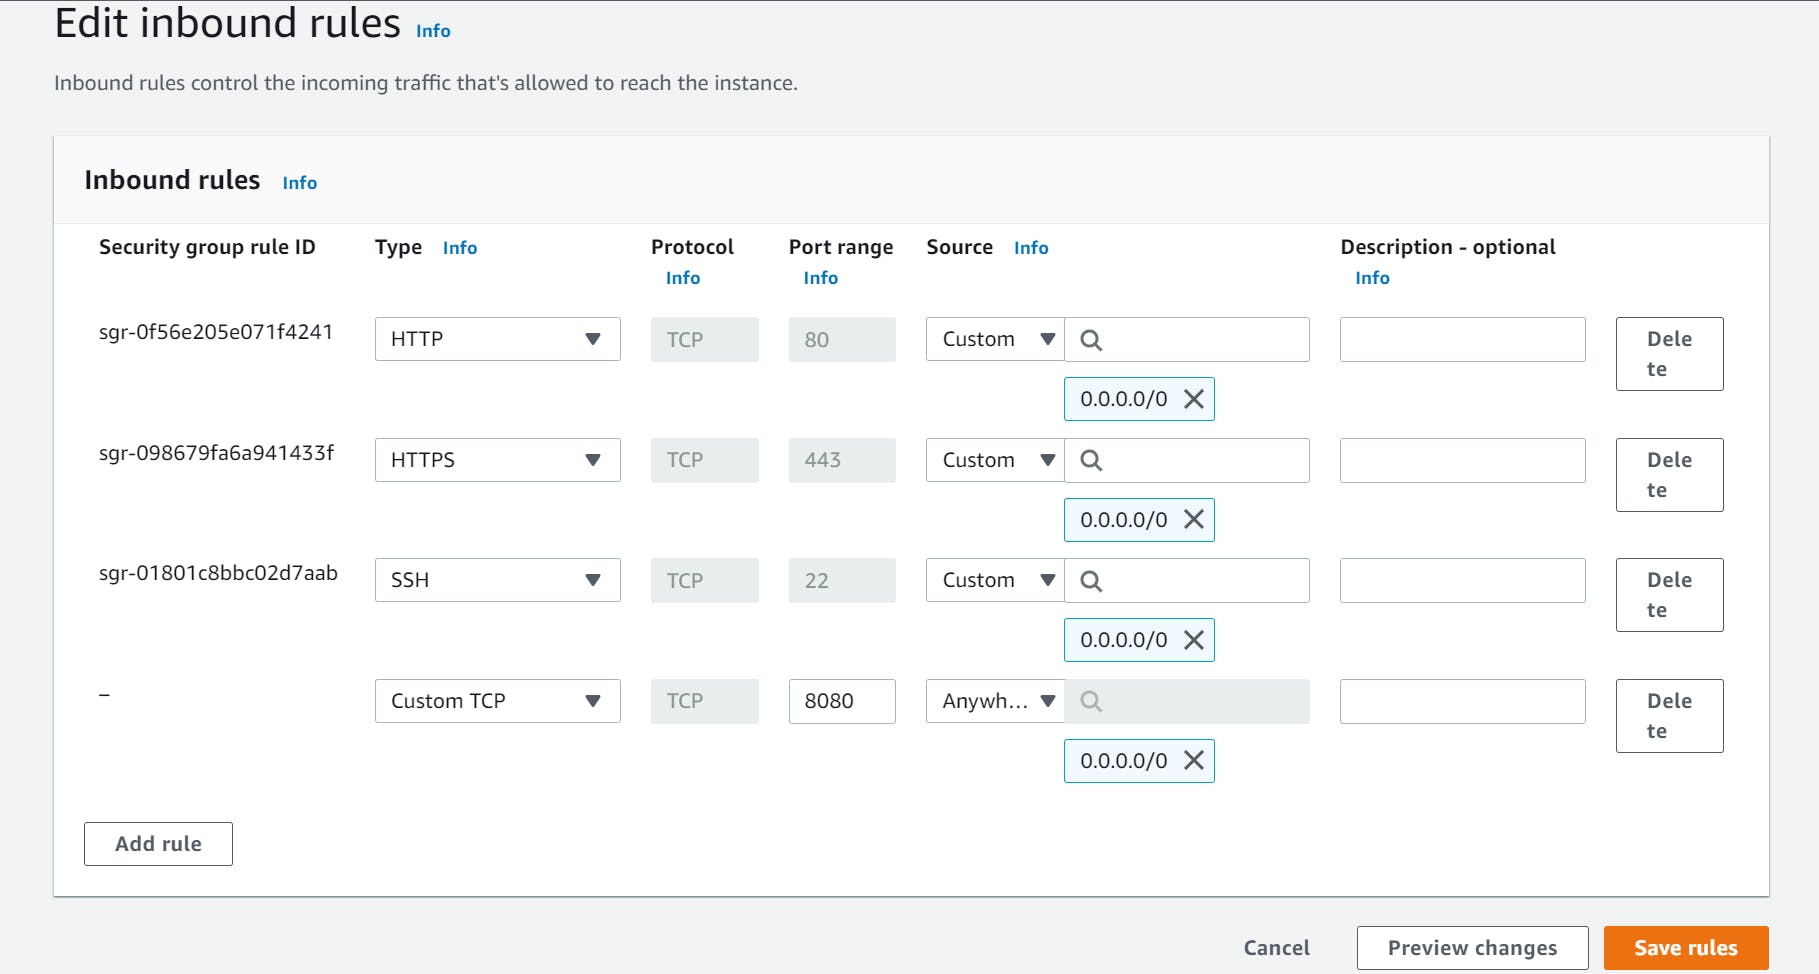
Inside the Edit inbound rules section, click on the Add rule button to create a new inbound rule. Select Custom TCP rule from the Type dropdown menu and enter 8080 as the Port range. Then select Anywhere (or a specific IP range) as the Source to allow access from any IP address or a specific range of IP addresses. Finally, click on the Save rules button to apply the changes.
Step 3: Installing Jenkins on AWS Ubuntu Server
To install Jenkins, first, update the default Ubuntu packages lists for upgrades with the following command:
sudo apt update
Then, run the following command to install JDK:
sudo apt install default-jdk -y
Next, install Jenkins itself by issuing the following four commands in sequence to initiate the installation from the Jenkins repository:
curl -fsSL https://pkg.jenkins.io/debian-stable/jenkins.io.key | sudo tee \
  /usr/share/keyrings/jenkins-keyring.asc > /dev/null

echo deb [signed-by=/usr/share/keyrings/jenkins-keyring.asc] \
  https://pkg.jenkins.io/debian-stable binary/ | sudo tee \
  /etc/apt/sources.list.d/jenkins.list > /dev/null

sudo apt update

sudo apt install jenkins -y
Step 4: Setting Up Jenkins
After Jenkins has been installed on the Ubuntu server, the next step is to enable Jenkins using the systemctl command:
sudo systemctl enable jenkins

Once that’s done, start the Jenkins service with the following command:
sudo systemctl start jenkins

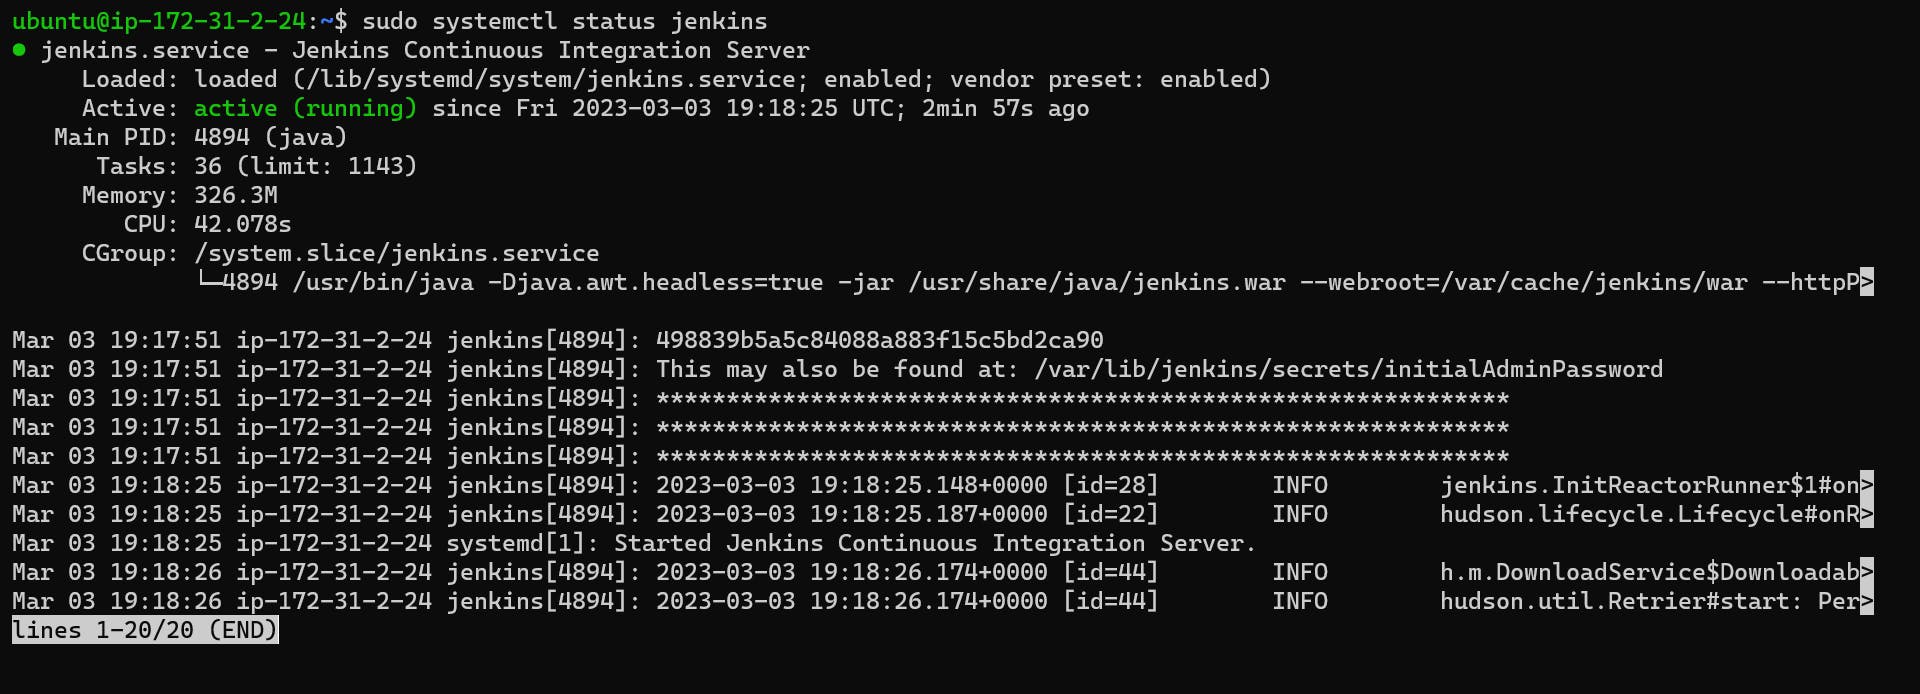
To confirm its status, use:
sudo systemctl status jenkins
Step 5: Allowing Jenkins Port: 8080
With Jenkins installed, we can proceed with adjusting the firewall settings. By default, Jenkins will run on port 8080. In order to ensure that this port is accessible, we will need to configure the built-in Ubuntu firewall (UFW). To open the 8080 port and enable the firewall, use the following commands:
sudo ufw allow 8080

Then we will enable the UFW(Ubuntu Firewall) service:
sudo ufw enable

Once done, test whether the firewall is active using this command:
sudo ufw status

With the firewall configured, it’s time to set up Jenkins itself.
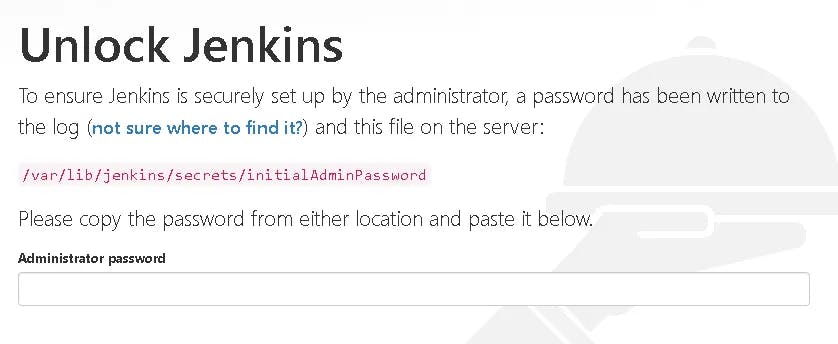
Type in the IP of your EC2 along with the port number. The Jenkins setup wizard will open.

Final Step: Jenkins Credentials
To check the initial password, use the cat command as indicated below:
sudo cat /var/lib/jenkins/secrets/initialAdminPassword
All Set! You can now start automating 🎉
GitHub Link: https://github.com/debrajhyper/Jenkins-Installation